Whether you are already a progressing kiteboarder or you have just started taking lessons, you are bound to learn something new with these tips from our pros, about what they wish they paid better attention to when they first started their kiteboarding journey!
Tip 1. CHECK WIND QUALITY
When you start kiteboarding you are going to have to get familiar with reading the wind. Besides checking the direction and wind speed – don’t forget to check the wind quality.
What does wind quality mean?
Check the average wind speed vs gusts and lulls – the smoother the wind, the more repeatable your attempts are at whatever you are trying to learn and the faster you will learn.
If you are just starting out, rather go out in ideal conditions – the wind should not be too strong or too weak or gusty.
The video below explains wind conditions well.
– Wind, Weather & Conditions Lesson by Kitesurf College.
Tip 2. PULLING THE BAR IN DOES NOT NECESSARILY MEAN MORE POWER
Pulling the bar does not always generate more power – sometimes this could be doing the exact opposite, because you are stalling your kite. Correct this by checking your bar tuning and possibly attaching your lines to a different knot on the kite.

Tip 3. TUNE YOUR BAR
For better comfort and performance on the water, it is important to have your bar in the right trim.
Trim straps or cleats are perfect for tuning the bar, for the conditions while you are on the water, and as the wind varies during a session – however, there is still a need to check and tune your bar on a regular basis. This will help make sure your kite is flying optimally, with lines that are not stretched out or uneven.
Check the trim on a new bar after the first few sessions, then again every 6-8 weeks after that – adjusting as required. All Airush bars have rear line adjustment available to adjust the back to an ideal trim.
We’ve made a video on bar trimming that guides you through the process step by step. Check it out below.
Tip 4. PRACTICE KITE CONTROL… BEFORE ANYTHING ELSE
Becoming a proficient kite flyer is more important than getting up and going on the board.
Your kite is what pulls you and if you can’t use it efficiently or accurately you will be spending more time relaunching than actually riding.
Learn to understand your gear fully and have control over your kite in different conditions before placing your focus on the next step.
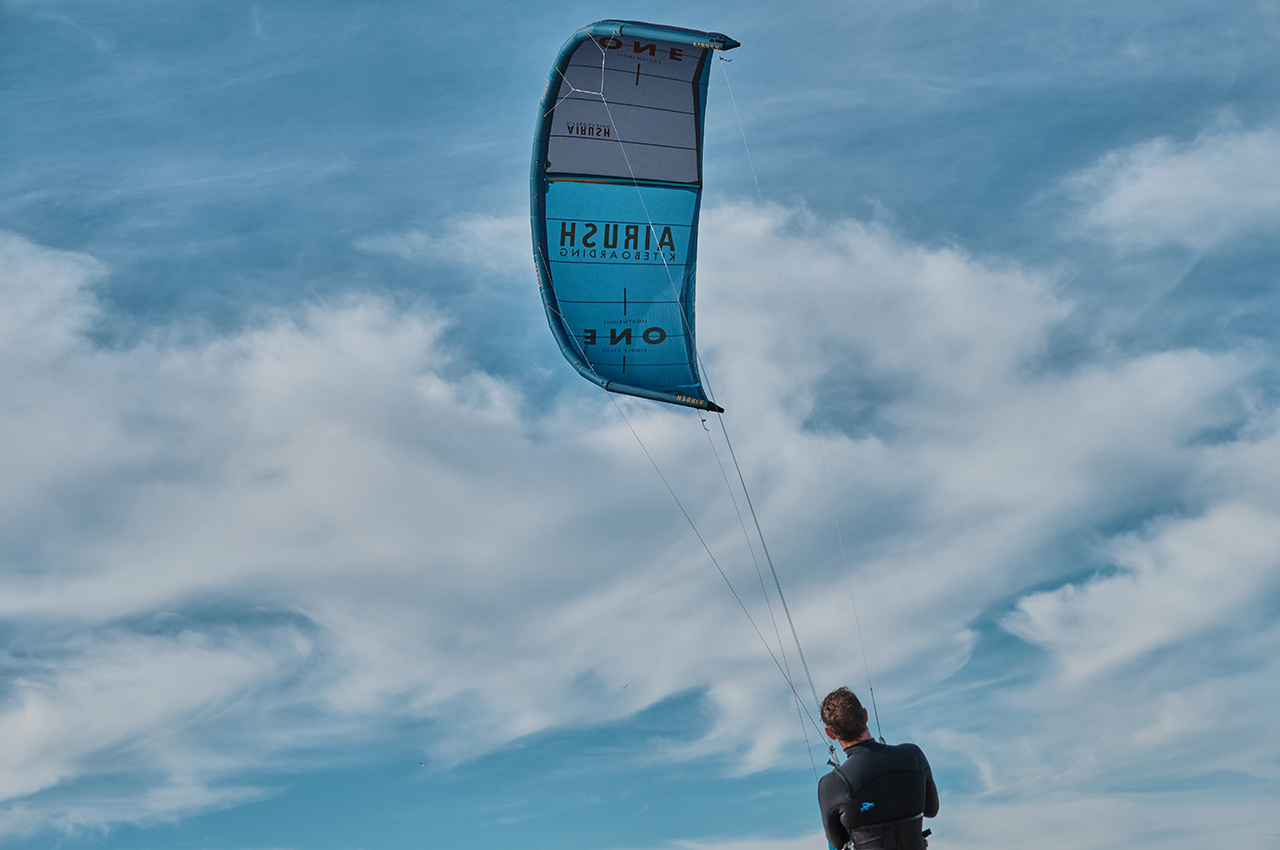
– Clinton Filen, One kite, captured by Mitchell Doyle Markgraaff
Tip 5. LET IT GO
If you are disorientated – let go of your bar!
There is less chance of you sending a powered dive into the ground or worse yet, a kite loop that pulls you at speed in a direction you don’t want to go.
By letting go, your kite will stabilize itself and head over to the edge of the window where you will be able to gather yourself again and plan your next step.
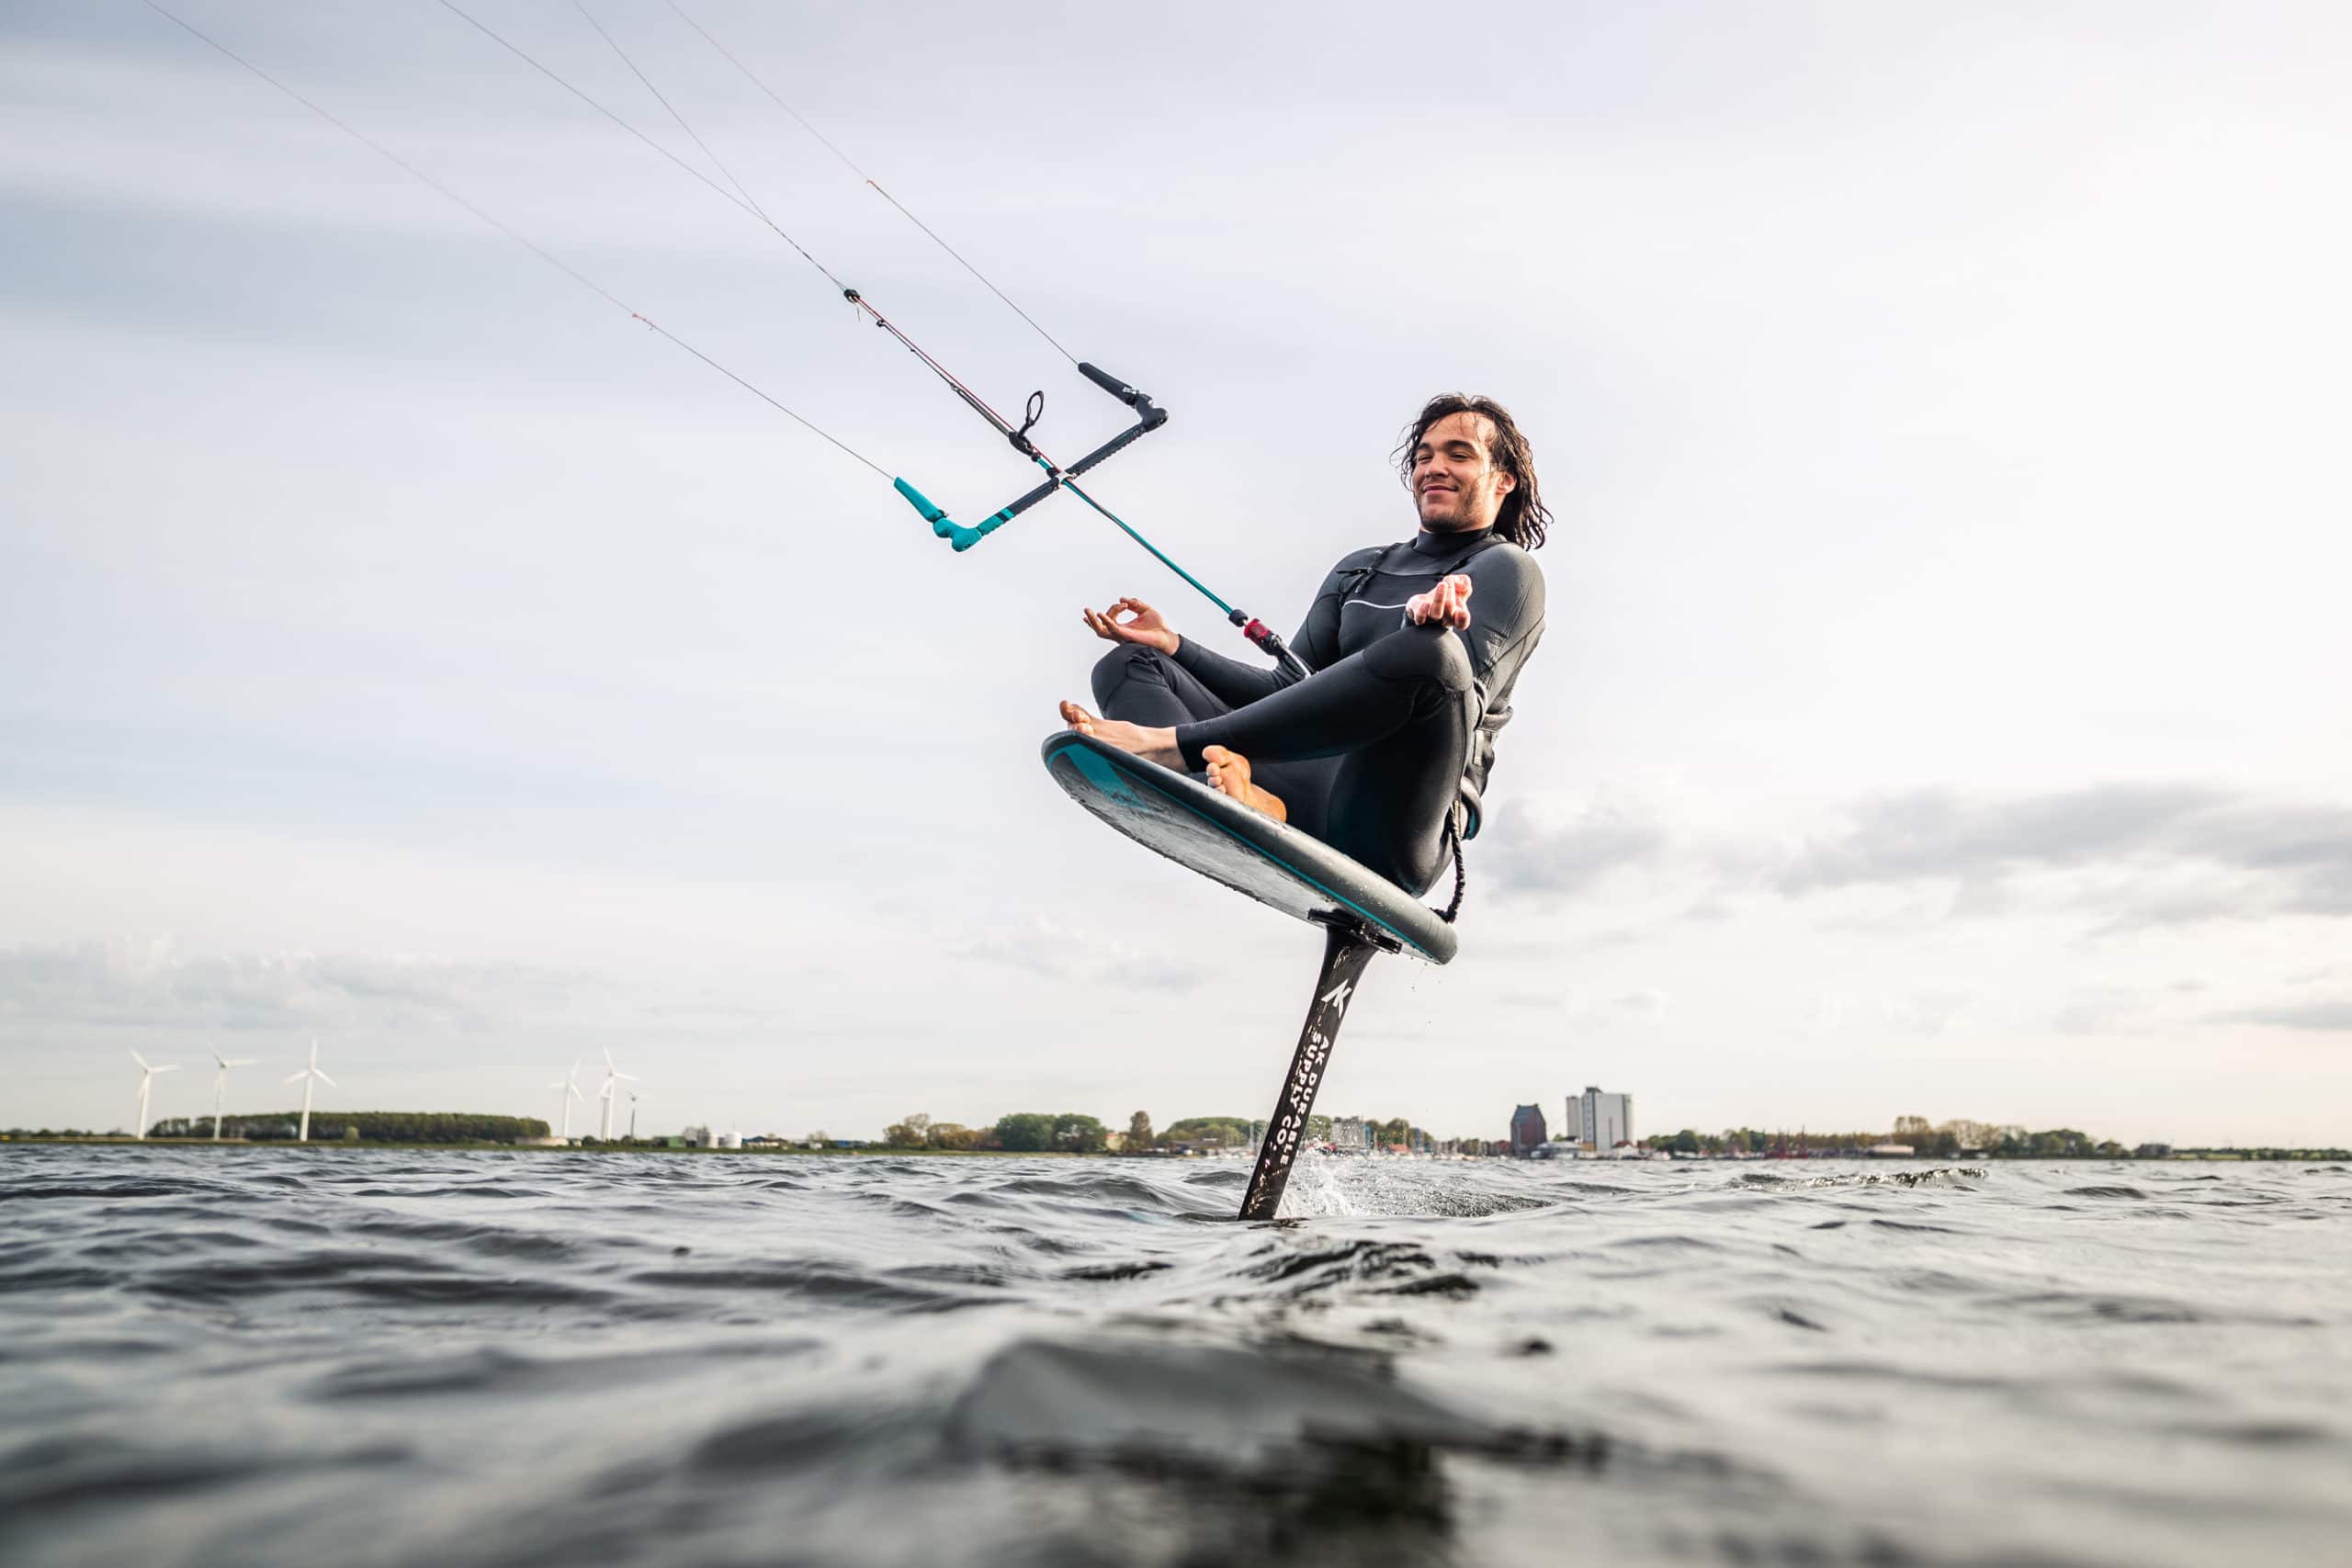
– Elias Ouahmid captured by Leo Drees
Tip 6. DO NOT PUT ASIDE THEORY
To do and to understand what you are doing are two completely different things. It is easier to do what a friend/instructor tells you to do, but to understand why you are doing what you are doing gives you the next level of freedom. By understanding the gear and sport you are able to create your own style and solving problems that work for you. Learn your theory because it helps you understand and be creative with the sport.
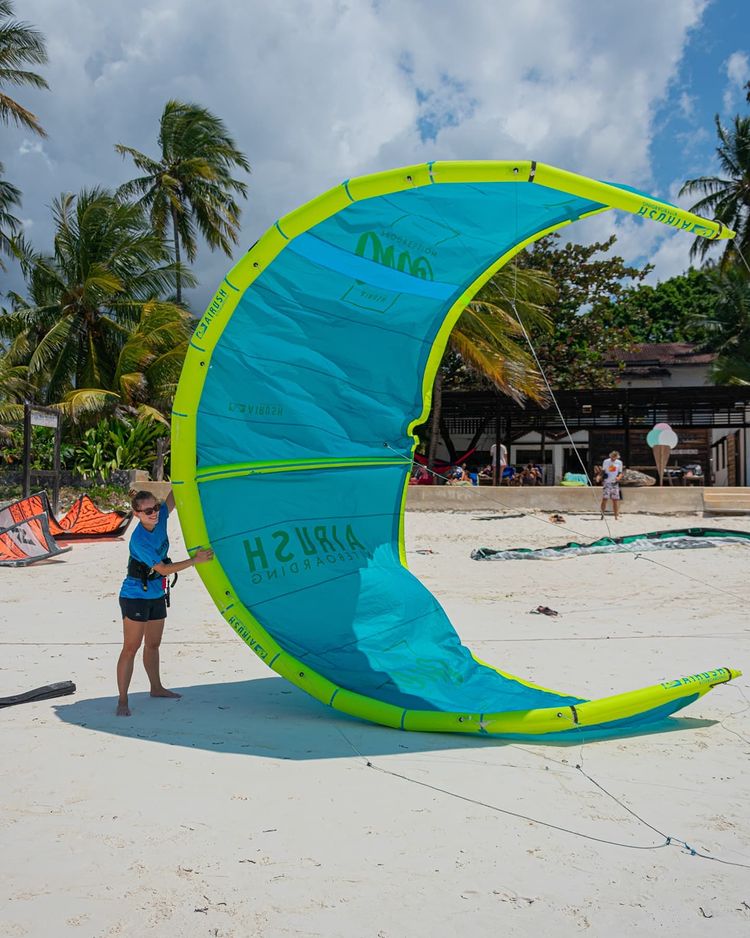
@paje_by_kite_official using the One
Tip 7. RISK ASSESSMENT
ALWAYS do a risk assessment – of the incoming weather, varying winds, of obstacles, the crowd, of the safety of your setup, potential hazards (People included) before going into the water – Have a plan B.
Example: Ask the locals – Get in touch with local riders or the Beach marshall to know more about the spot and the local forecast.
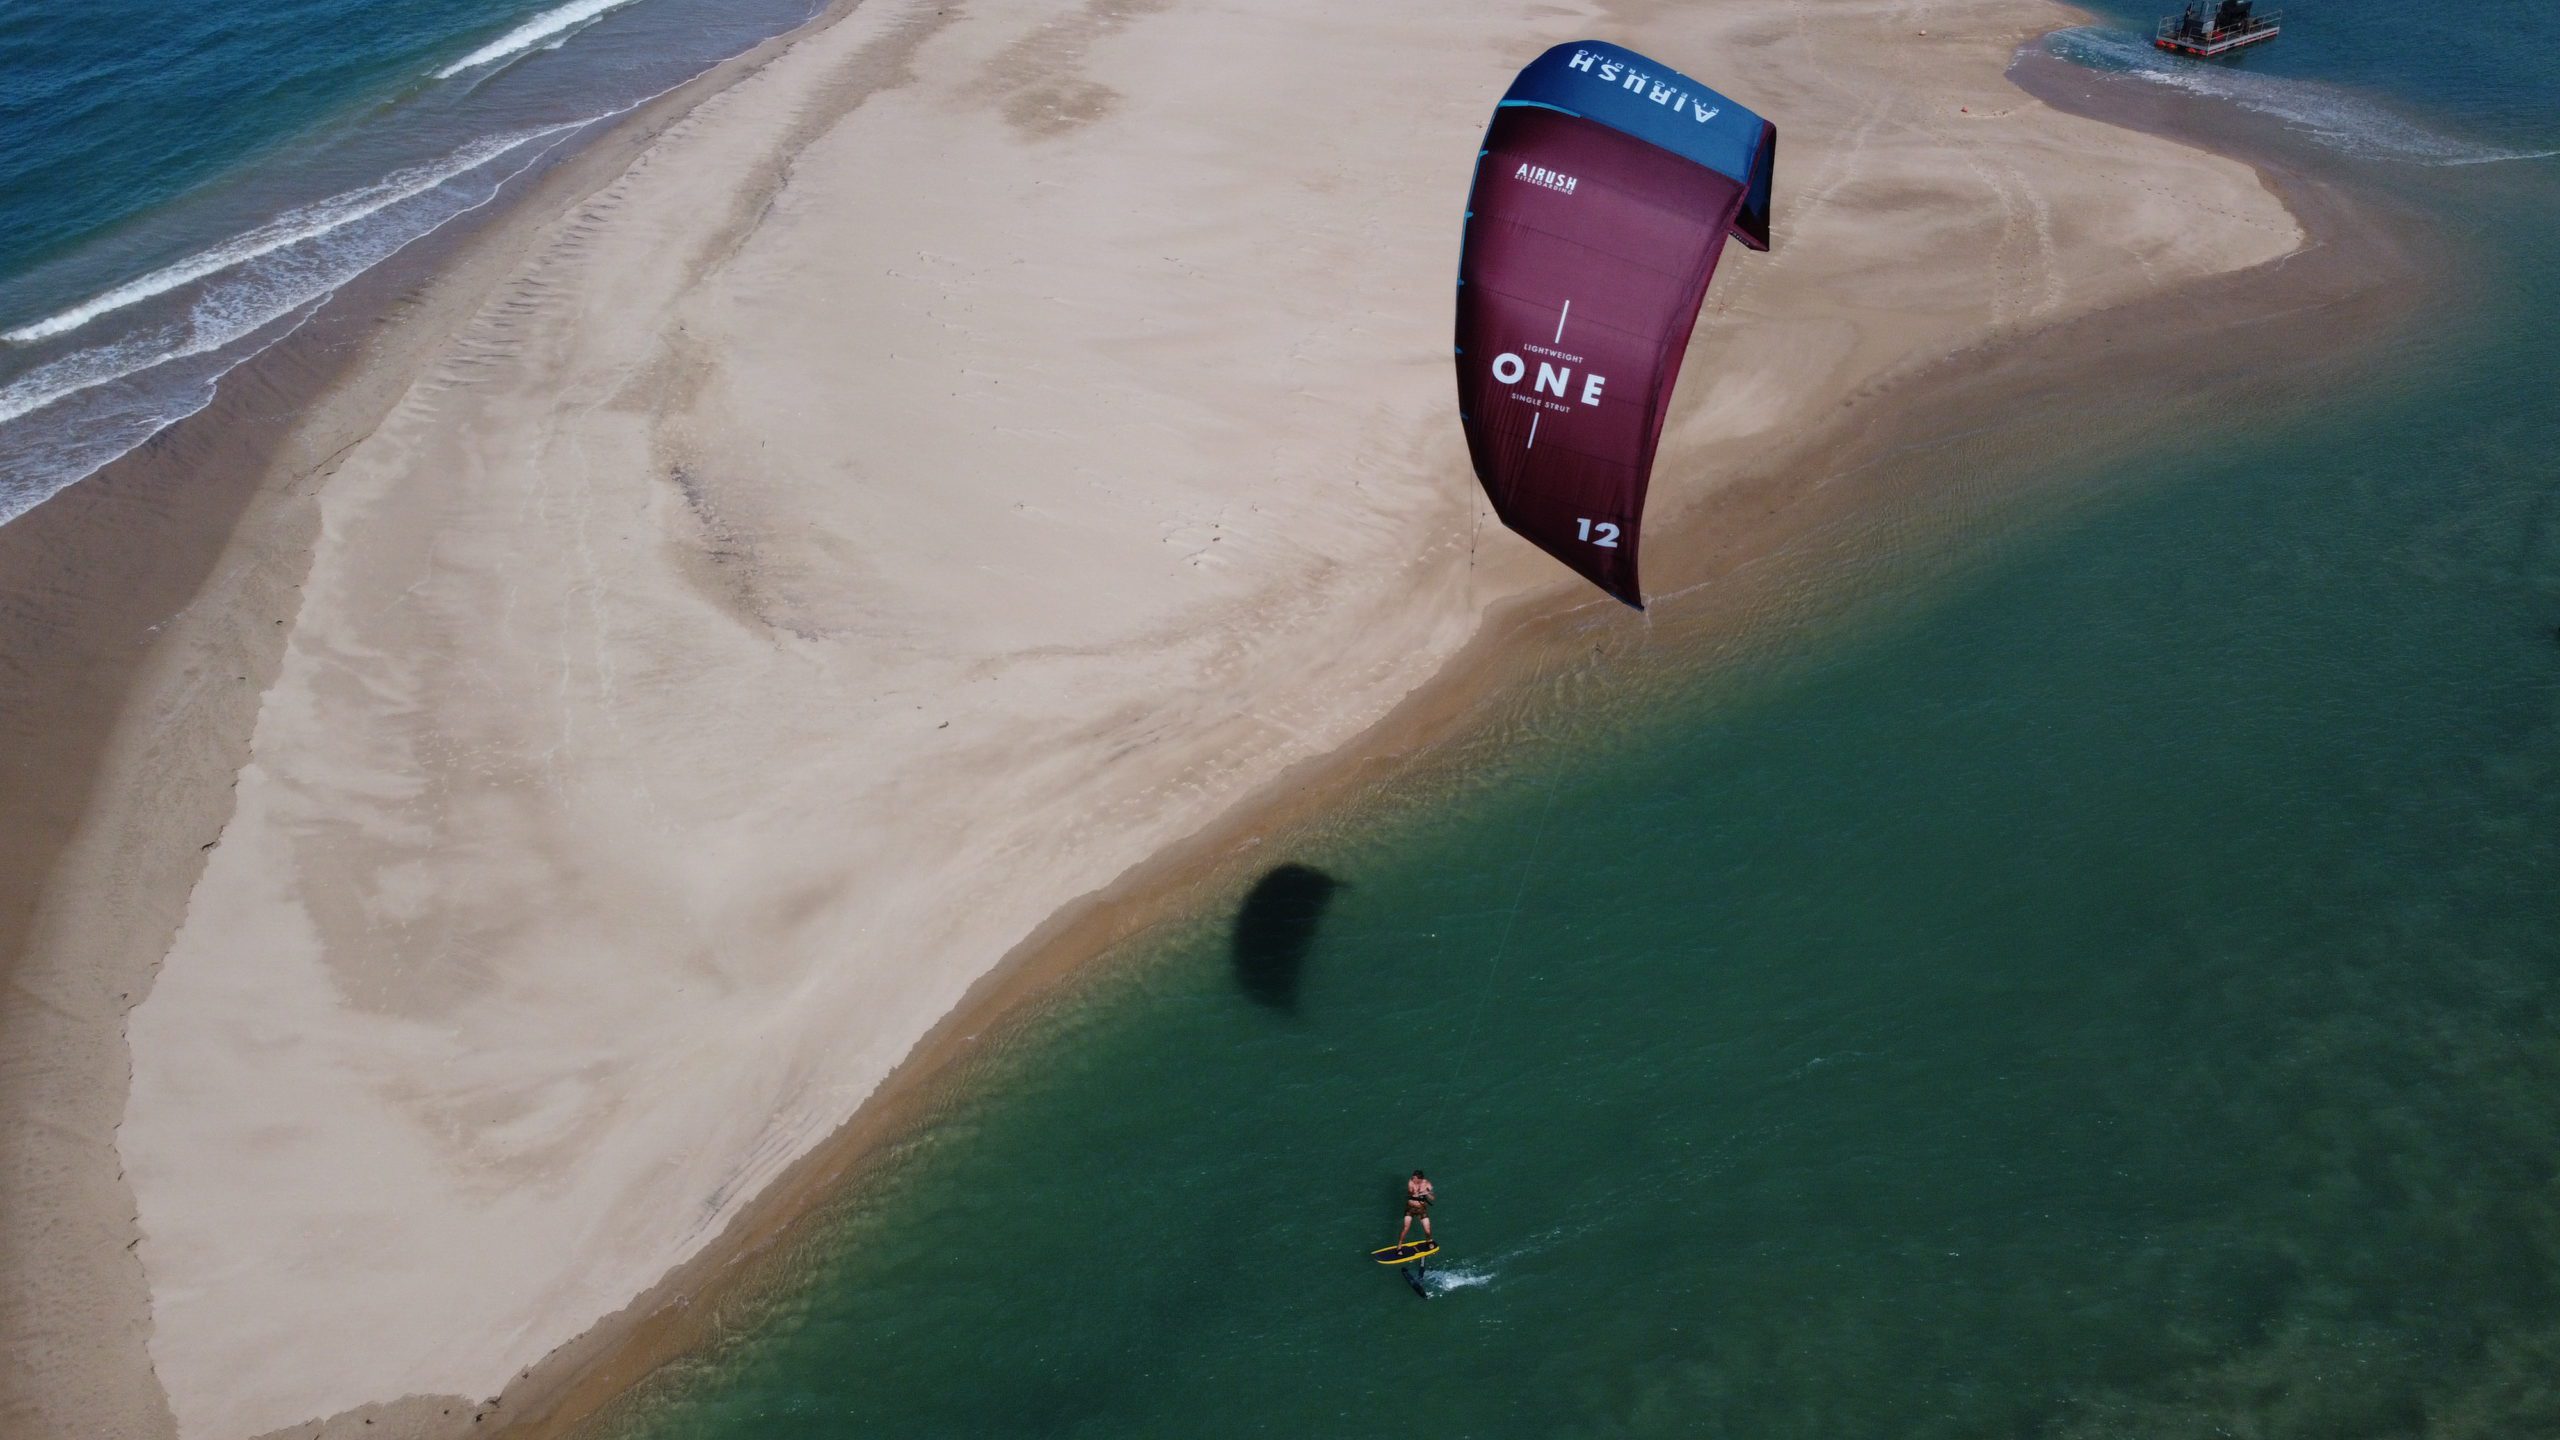
Victor Hays, One Kite, captured by Mitchel Doyle Markgraaff
Tip 8. BOARD SIZE
Don’t go too small in your board size, a bigger board is easier to get upwind on and much more stable for landings. Using a bigger board is also much easier in lighter winds.
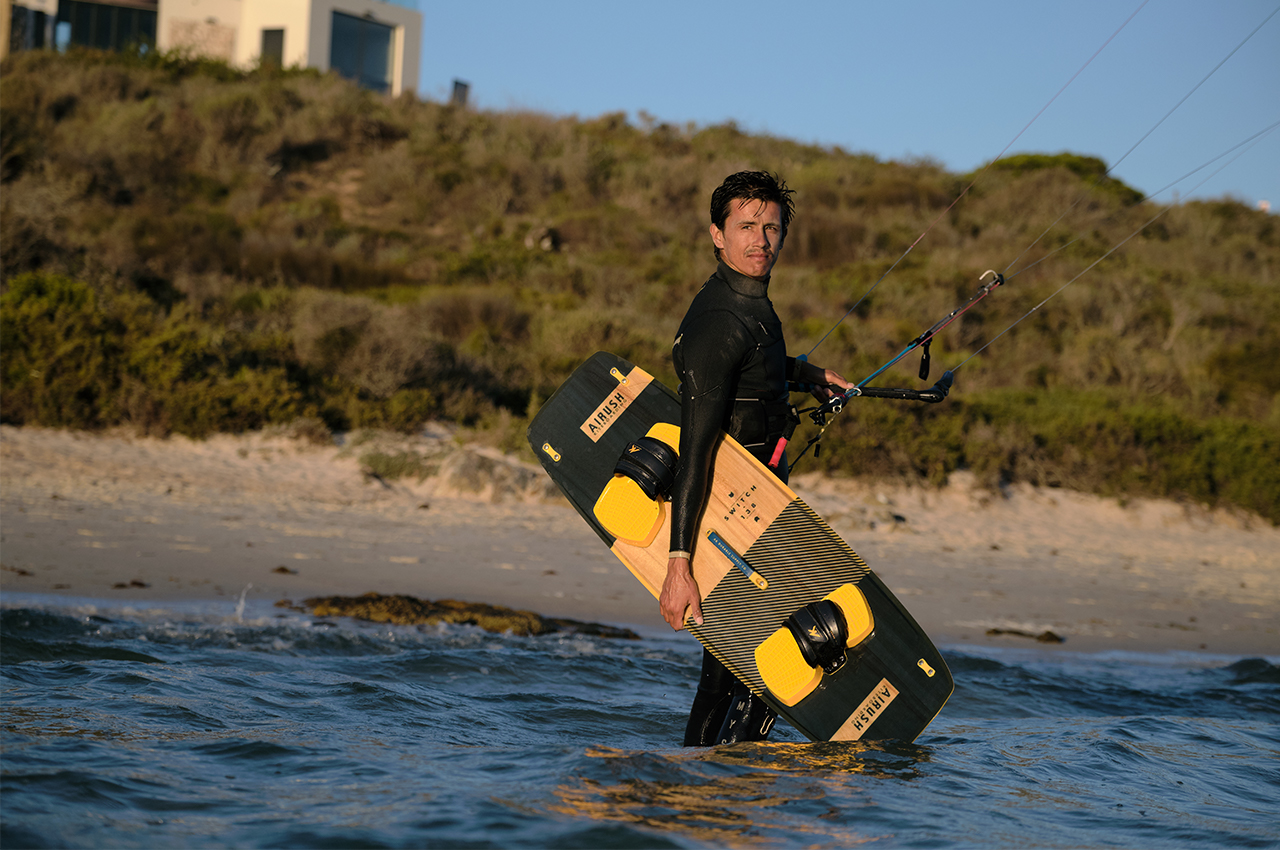
Kyle Cabano, Switch Board, captured by Mitchel Doyle Markgraaff
Tip 9. GET UP-WIND FASTER
Most people ride with too much weight on their back foot – for good light wind and upwind performance a more balanced stance allows for the complete rail to be engaged which drives you upwind better.
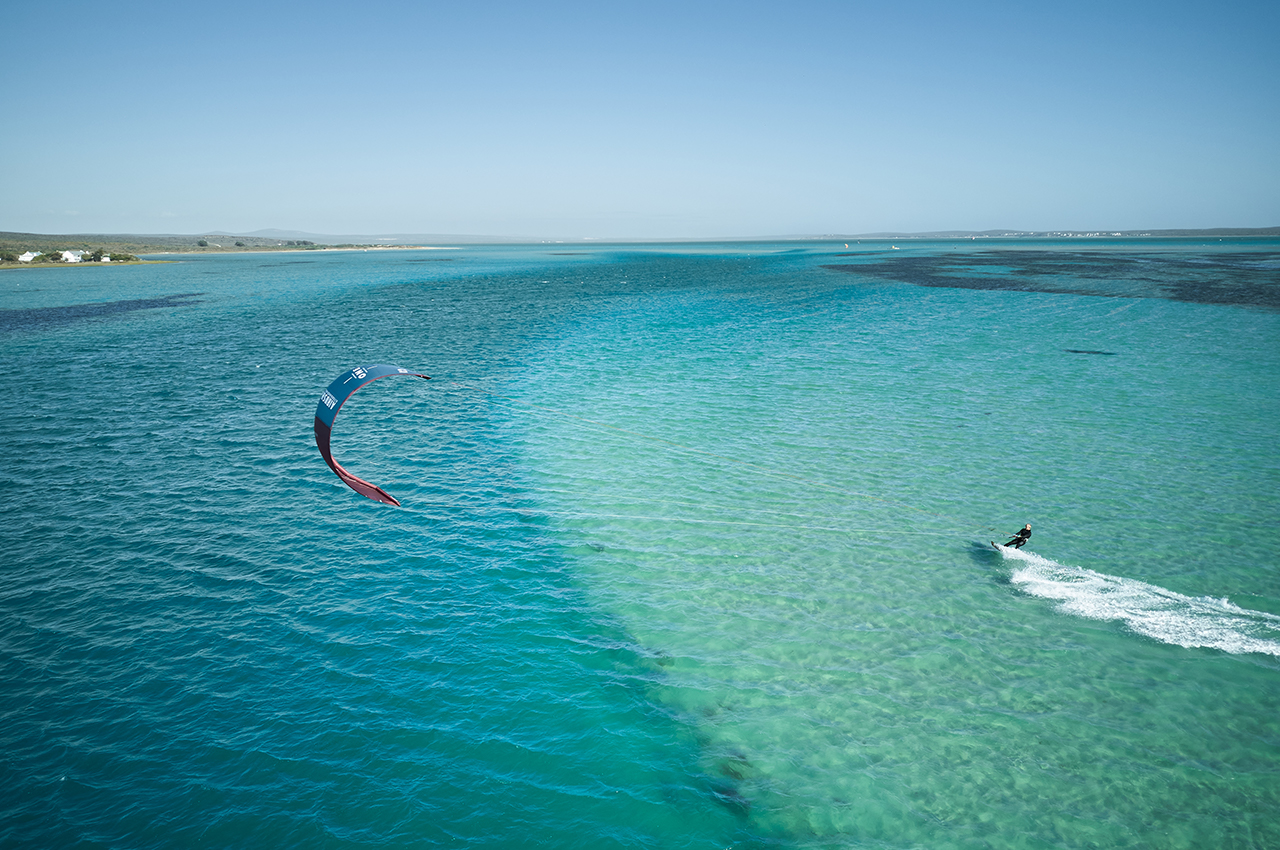
Dave Kay captured by Mitchell Doyle Markgraaff
Tip 10. TAKE IT EASY
Step by step – Feel comfortable in easy and steady conditions before reaching harder and stronger days, many kiteboarders overestimate their level, and that usually hinders their progression.
Break anything you are trying to learn, into the smallest components and then master the components before adding them together. This applies to a beginner all the way to an advanced rider. Watch, observe several times (position of the legs, hands, body, kite) then try.
For a beginner for example you can learn to fly a kite and learn to ride a board (behind a boat or at the cable park) and then combine the two. For an intermediate to an advanced rider – you can learn the basic parts of a trick eg S-Bend to Blind – you learn the S-bend and you learn to land blind and then combine the two.
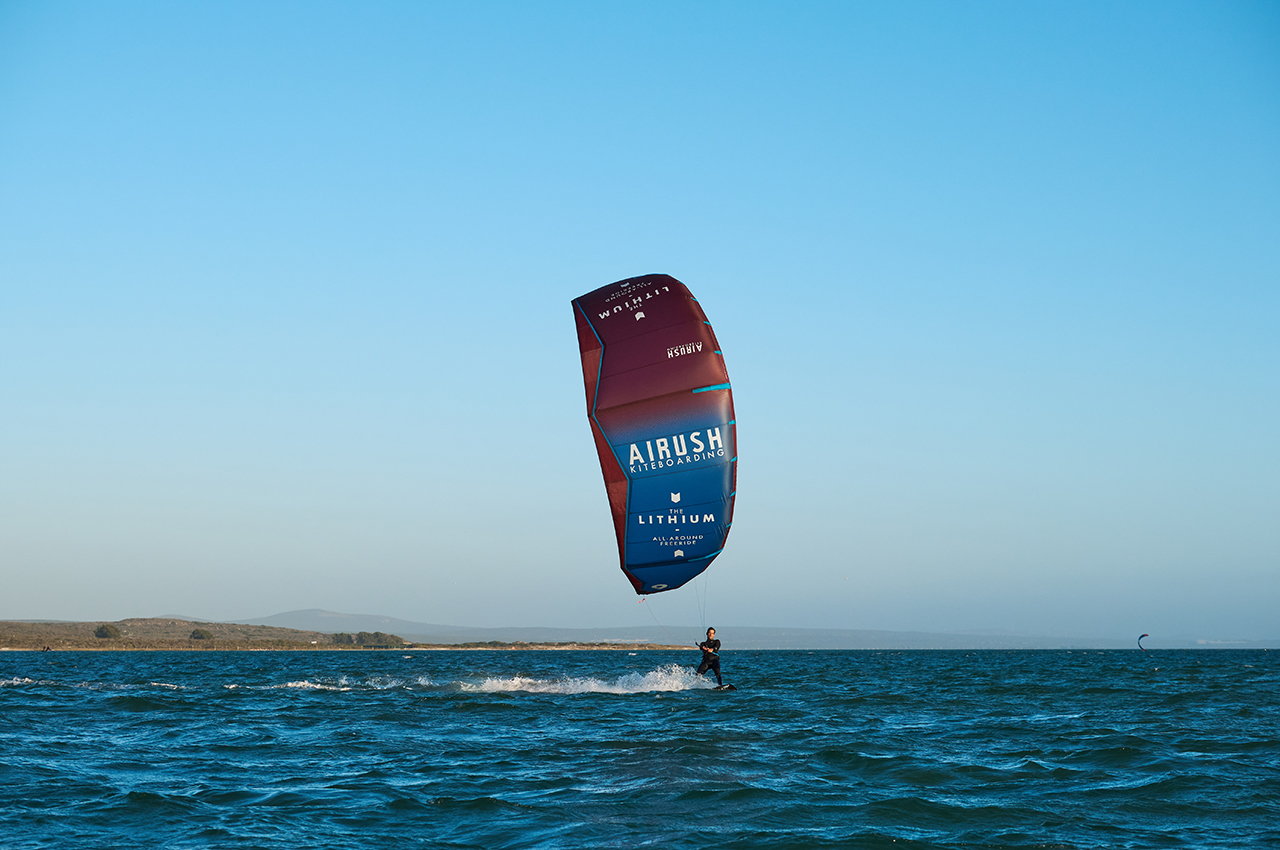
Kyle Cabano, Lithium kite, captured by Mitchell Doyle Markgraaff
Tip 11. THE RIGHT GEAR
Trust your gear and understand your gear fully. Have it well-trimmed and tuned. It’s important to feel comfortable and have the gear that matches your level.
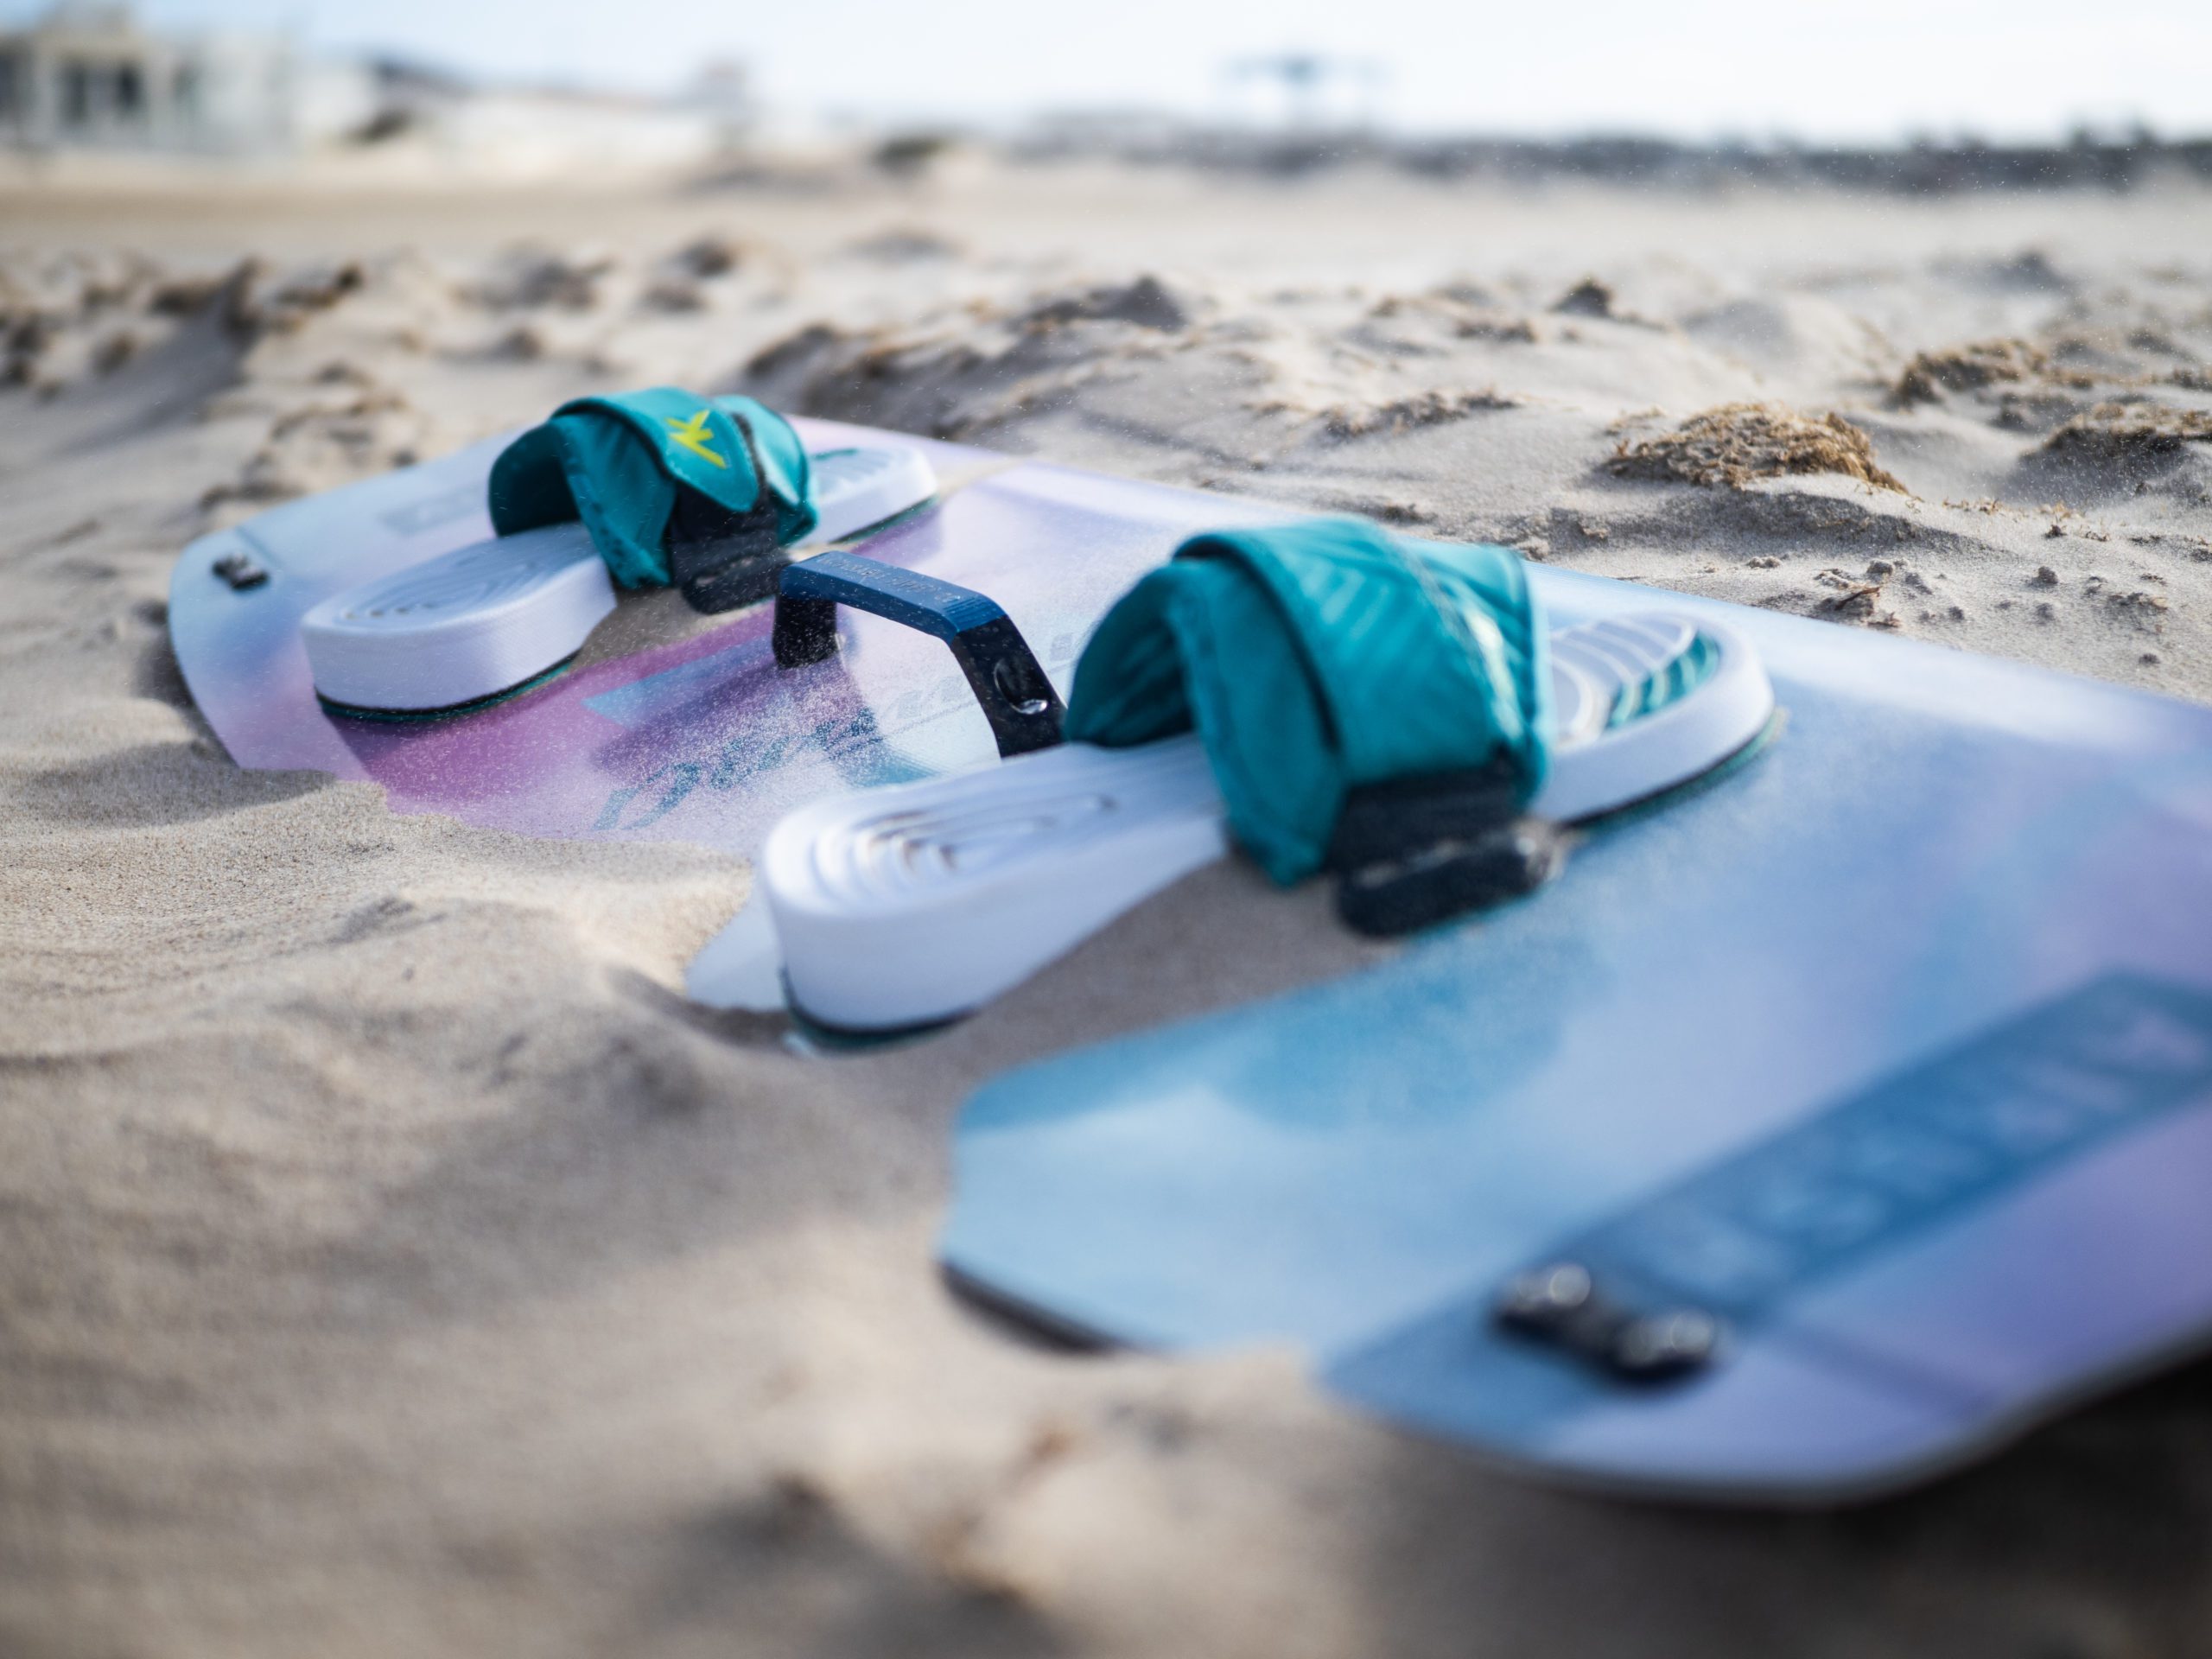
Diamond Board captured by Samuel Cardenas
Tip 12. EXPLORE YOUR OPTIONS
Once you are comfortable on your gear and are ready to explore, give different disciplines such as strapless, foiling, wave riding, etc a go. – Different types of disciplines help you work on specific elements that may improve those elements for other disciplines. For example, Foiling helps you progress on your pilot kite skills, which will help your jumping abilities.
As long as you are confident with your gear, having fun while staying safe on the water, for your and the safety of those around you, you are in for one amazing life-changing kiting journey.
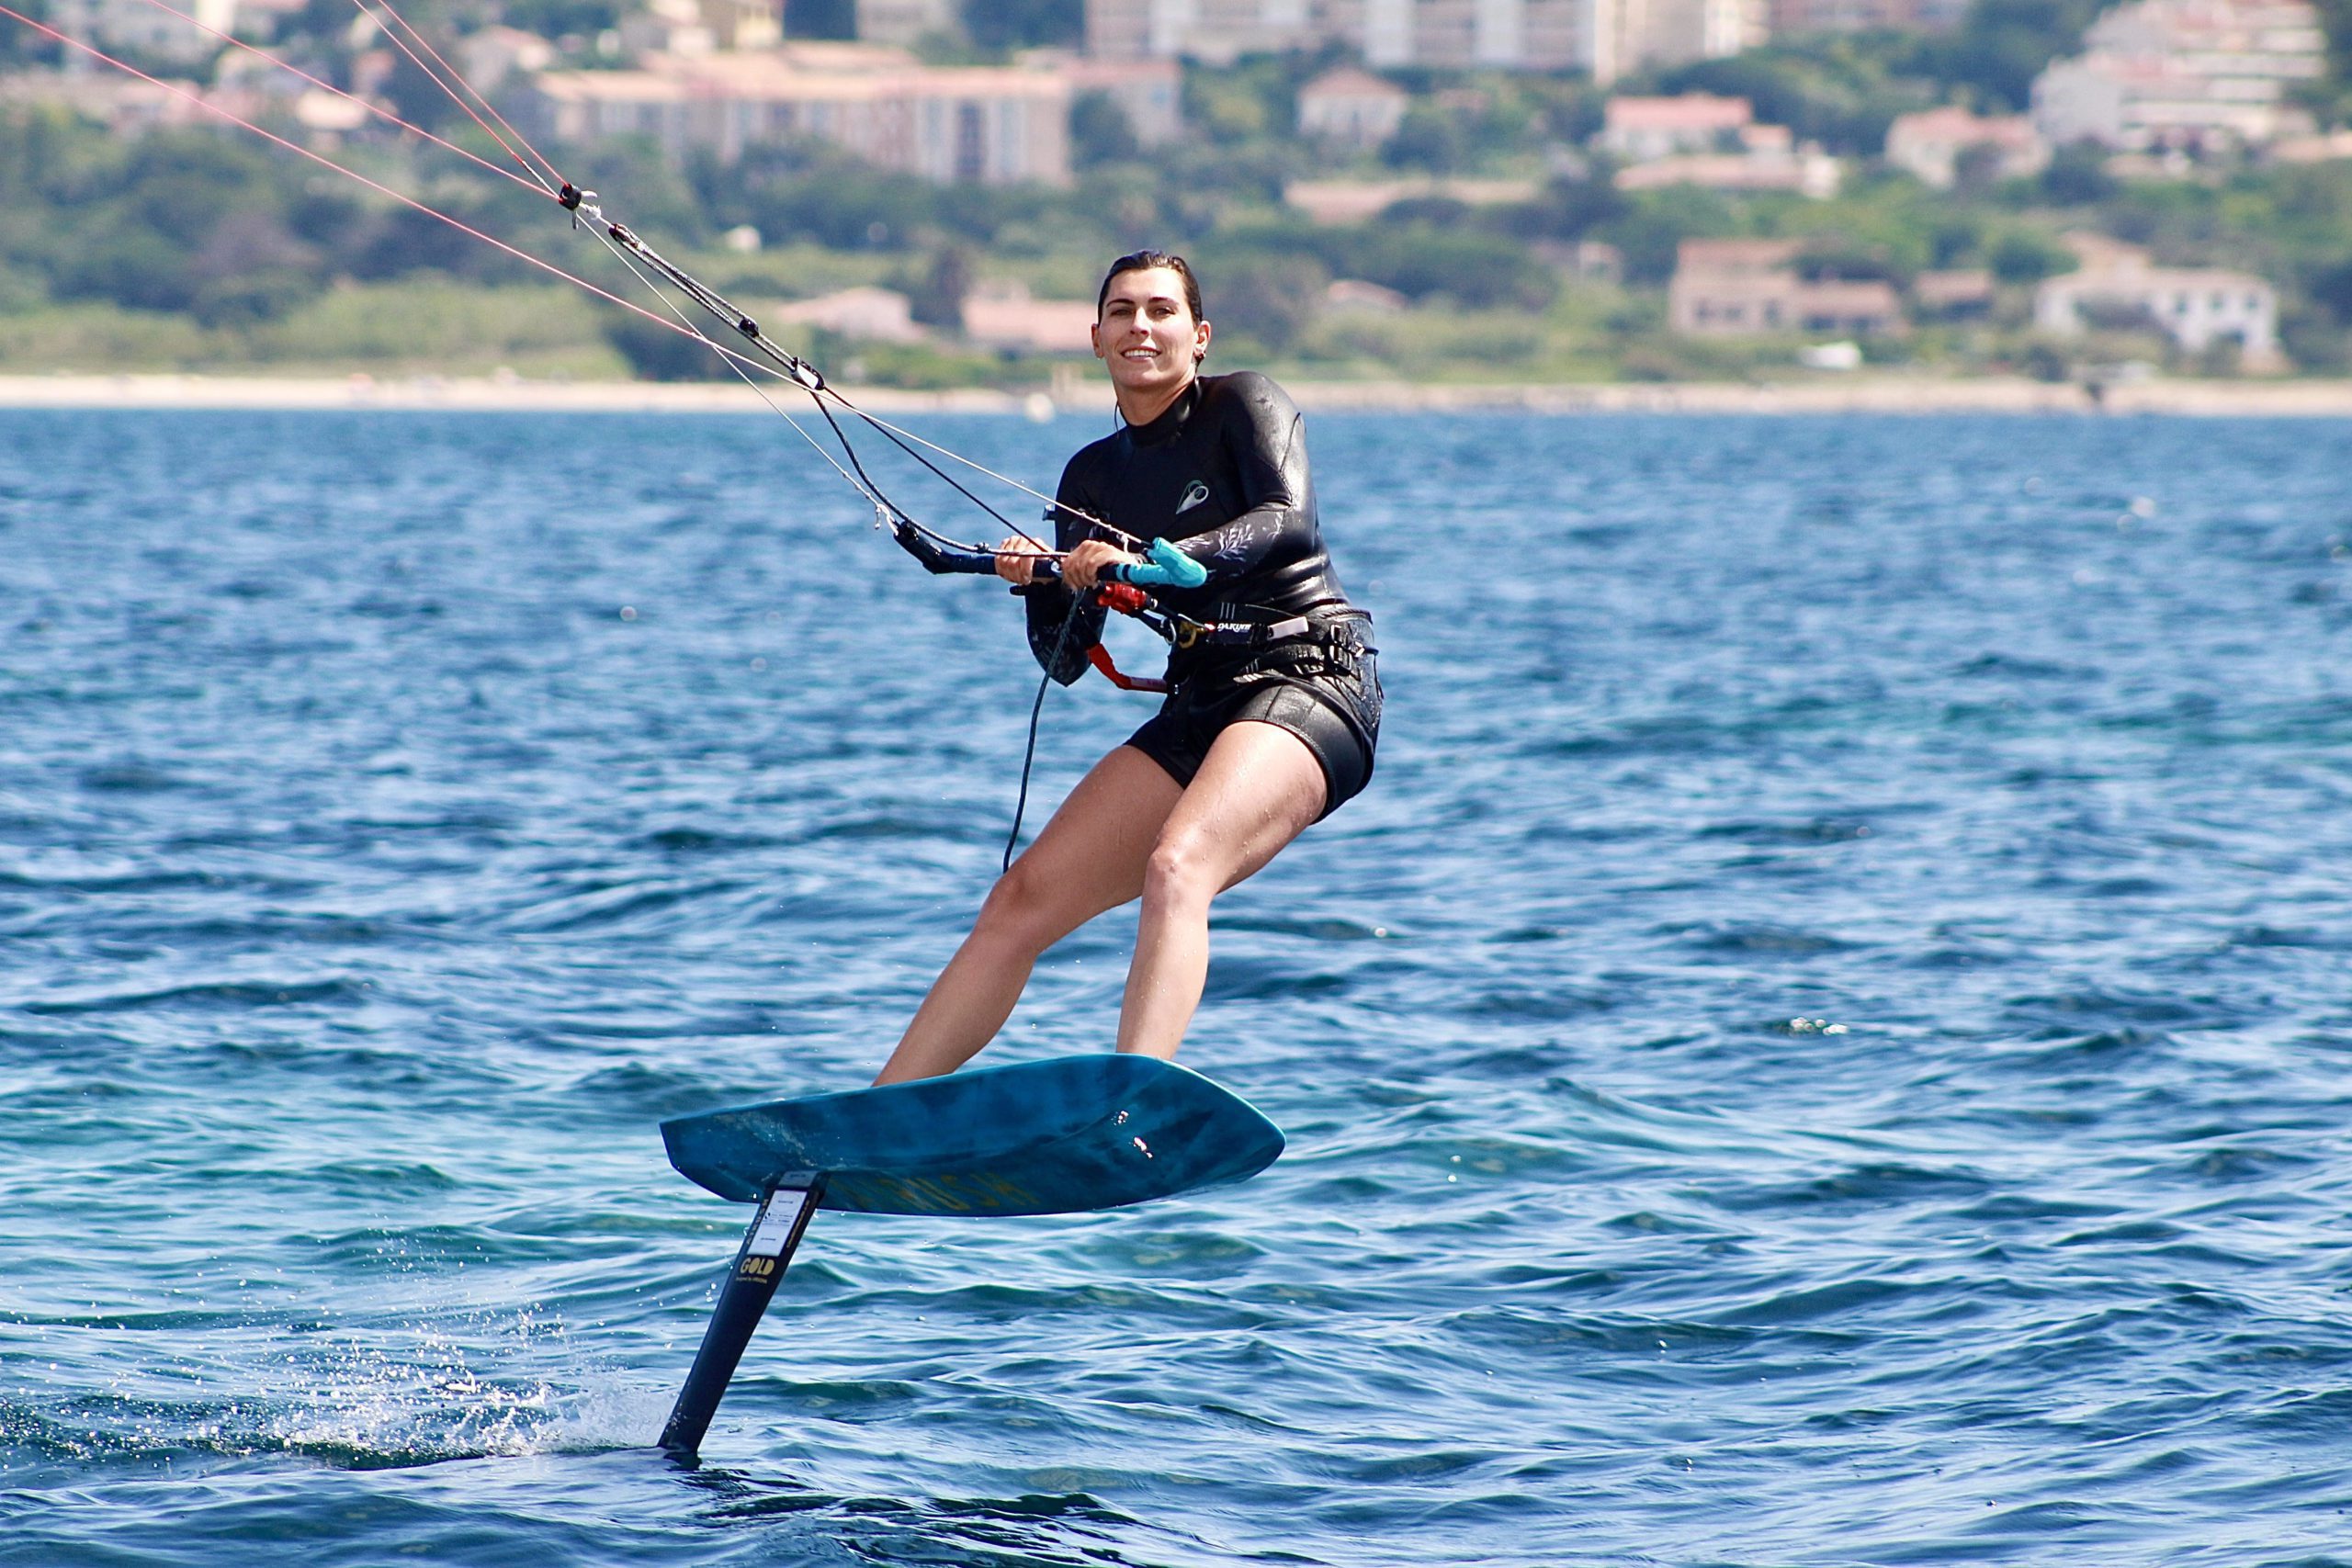
Alexia Fancelli, Gold Foil Collection, captured by Colin Oudit
Our choice of gear suitable for progressing kiteboarders:
The Diamond is the ultimate all-around female freeride board. Created with the smaller, lighter rider in mind. With a single basalt fiber lamination for lightweight reflex.
The Diamond is available in smaller sizes, has a softer flex pattern and fine-tuned narrowed stance. A double concave with a solid spine allows for smooth landings, while a basalt fiber lamination provides flex, lightness, and durability. This makes it perfect for riders pushing their limits without compromising its playful character for those progressing.
The Airush Multizone Biotech Construction is a vertical paulownia wood core sandwich. This multilayer construction creates a consistent density from the natural material. Our wood cores are renowned for their response, durability, and smoothness, and are combined with a versatile combination of laminates, for all-around performance and durability.
Basalt fiber in particular for a women’s board is a really good combo. It reduces weight and increases the flexibility which, if it was made with fiberglass as the weight of lamination is dropping, we start to lose a lot of reflexes. Basalt fiber is a particularly nice choice for this style of the board because we can retain lighter weight but also give the board a really nice, lively, exciting ride.
Basalt fiber is a material made from extremely fine fibers of basalt rock. Stronger and stiffer than fiberglass while being extremely tough under impact. It is Dave Kay’s (Product Development Engineer) all-time favorite board reinforcement because it is the perfect balance between lightweight reflex and durability.
For the new model, we have added adhesives throughout the insert block for increased durability whether riding with boots or straps.
The Diamond has a narrower relative outline, softer flex pattern, and fine-tuned narrowed stance. A double concave with a solid spine allows for smooth landings, while a basalt fiber lamination provides flex, lightness, and durability.
This makes it perfect for riders pushing their limits without compromising its playful character for those progressing.
If you are looking for a Women’s specific board with a lightweight laminate, that is fine-tuned for a narrower stance, without compromising on performance the Diamond is your weapon of choice.
“The Switch is the longest-running Twintip design in kiteboarding, going right back to the earliest days of the sport. Legendary designers like Jimmy Lewis and Colin McCulloch have in the past worked on this model. With the 20 years of history it is quite an honor for me to be able to put my own take on this important board in the Airush line up.” – Dave Kay
The Switch is a Freeride model and for many Airush customers, it will be their first board. To this end, the Switch needs to be EASY, easy to ride, easy to control, and easy to get upwind on. It also needs to not limit a rider’s progression, it can’t be a board that you ‘outgrow’ in a short space of time.
The key design points that lead to this ‘easy rider’ style are:
- Progressive single concave bottom shape, deeper in the middle for lift and upwind ability and flat in the tip to keep this area flexible.
- Thin Step-down rails for clean water release and low drag.
- Low rocker for fast planning and easy upwind ability.
- ‘Mid square’ outline for tracking and stability
The exposed wood and color-coded accessories have made it an amazing package. The Switch is the only board that is kitted with AK Durable Supply Co’s vibrant yellow bindings, handle & fin set.
“The layup found on the Switch is strictly focused on durability and responsiveness, ensuring a perfect combination for all freeriding needs. This construction is simple yet effective for smooth, easy, and forgiving riding.
Riding the Switch and Lithium is probably one of the easiest plug-and-play combos available on the market. The Switch is extremely easy and comfortable in every kind of condition, especially in choppy conditions.
It’s fast, with extremely easy upwind ability. It’s the perfect combination for riders wanting a good predictable ride.” – Victor Hays
The Lithium is for the rider looking for a kite that provides an endless amount of fun on the water. The Lithium is the ultimate all-around freeride performance kite. Versatile in the surf, easy to ride, and light at the bar, the Lithium is predictable and stable in the air, and has incredible park ability. The powerful three-strut delta-hybrid design enjoys a huge wind range and, combined with the wingtip shape and strut layout, ensures the quickest response through the window as well as instant relaunch.
“The stability in the air and light bar pressure make it the best version yet for wave riding, while the Delta Hybrid C shape makes it incredibly predictable and responsive through the window, which is ideal for learning to foil or progressing on a twintip.” – Mark Pattison, Kite Designer
The Lithium is equipped with the V3 Bridle System. The key benefit of the V3 bridle system is that the kite maintains steering even when completely de-powered, increasing the usable wind range and overall performance significantly while adding immense safety benefits. The positioning of the bridle attachment points on the leading edge of the kite, combined with the V-pulleys result in lighter steering, but direct enough to feel where your kite is while riding.
The Lithium features Techno Force D2 canopy material. This premium fabric is designed with a high-density structure using high tenacity double-coated polyester yarn in a double ripstop configuration. The double coating protects the yarn as much as possible from UV and abrasion damage. This ensures that the canopy remains as crisp and responsive for as long as possible.
Year after year, the Lithium has been refined to meet the needs of riders who simply just love to kite.
The One is a lightweight single strut kite that has incredible relaunch capabilities. Made with lightweight components and durable D4 cloth, keeping the One surprisingly light in the air and forgiving at the bar. With a huge wind range, the One is a fantastic kite for safe light wind, and fast progression kiteboarding. This makes it perfect for riders pushing their limits without compromising its playful character for those progressing.
Key to the One’s fun is its round/ swept wingtips that increase the relaunching capabilities of the kite, especially in light wind conditions.
This kite has been designed around a lower aspect ratio platform, resulting in a more plug & play, low end feel through the bar with positive feedback.
It features a minimalized V2.2 Bridle which provides support to the slightly larger leading edge to increase the stability and wind range of the Delta Hybrid design. The Bridle also keeps steering tension at all times, ideal for entry-level and intermediate users requiring full control while riding completely depowered.
For the new model of the One kite, we have introduced the Techno Force D2 canopy material into the range. This premium fabric is designed with a high-density structure using high tenacity double-coated polyester yarn in a double ripstop configuration. The double coating protects the yarn as much as possible from UV and abrasion damage. This ensures the canopy remains as crisp and responsive for as long as possible.
The stable and predictable nature of the kite, along with extra reinforced perimeter, makes
the One ideal for riders at any level.
Next up: Behind The Design Of The Freeride Series
Fusing the collective experience of Airush kite designer Mark Pattison and design engineer Dave Kay, with extensive input from team rider and freeride tester Victor Hays, French all-rounder, Colin Oudot and his partner in crime, Foil guru, Alexia Fancelli, to deliver a comprehensive redesign of the Airush freeride series for the upcoming season.
We caught up with the team, and go behind the design to get the low-down on the all-new Freeride Series.
Read more: How To Check The Trim On You Airush Bar
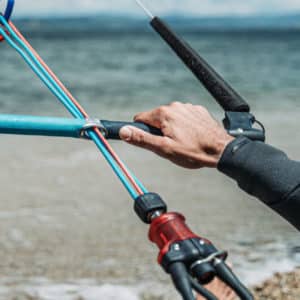
Airush Product Development Engineer, Dave Kay Presents: How To Tune Your Bar.
These steps are applicable to any bar in the Airush range.
- The first part of this process is to run the lines out and attach them to a single connection. Tie a rope around a tree or the towbar on your car, or use your leash tied around something secure.
- Run the lines out and attach them to the tree or attachment point you’ve created. With all 4 lines straight and tangle-free, attach them to the attachment point.
- The easiest way to confirm the trim on any Airush bar is to have your cleat or strap in the fully powered up position and then pull all 4 lines tight.
